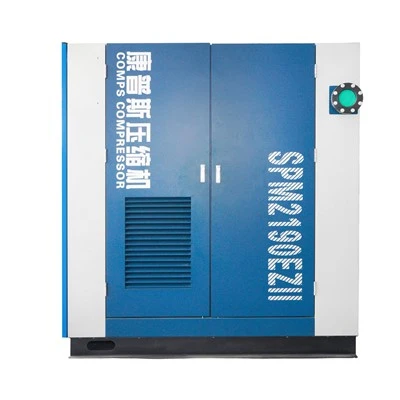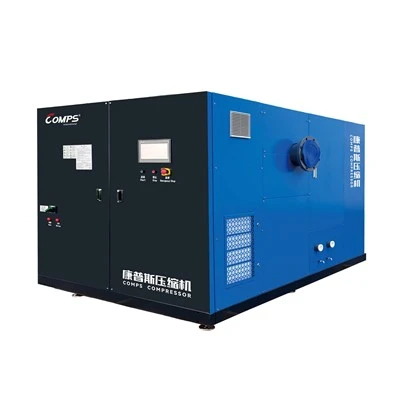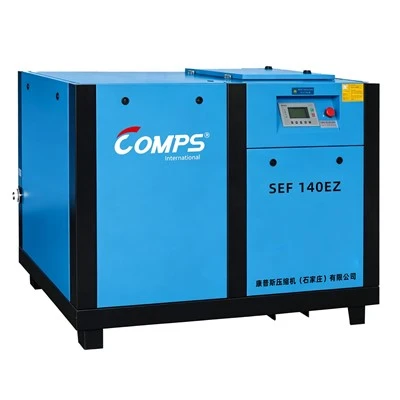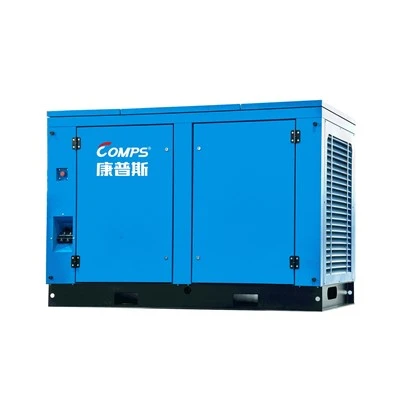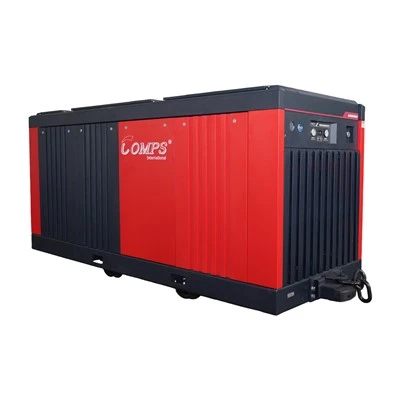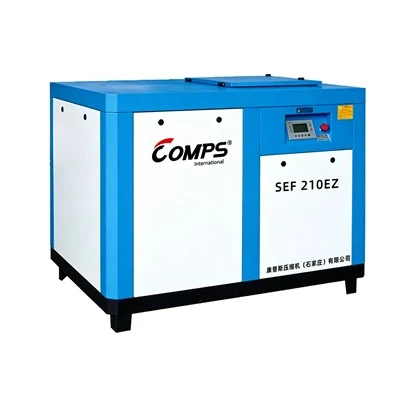
Hey there, folks! As a supplier of Inverter Single Stage Air Compressors, I know how important it is to keep these machines in tip - top shape. One crucial aspect of maintenance is cleaning the interior of the air compressor. Today, I'm gonna walk you through the process of cleaning the interior of an inverter single stage air compressor.
Why Cleaning the Interior Matters
Before we dive into the cleaning process, let's talk about why it's so important. Over time, dirt, dust, oil, and other debris can accumulate inside the air compressor. This buildup can lead to a whole bunch of problems. It can reduce the efficiency of the compressor, making it work harder to deliver the same amount of air. It can also cause wear and tear on the components, shortening the lifespan of the machine. In some cases, a dirty interior can even lead to overheating, which is a serious safety hazard. So, regular interior cleaning is not just a good idea; it's essential for the proper functioning and longevity of your air compressor.
Tools and Materials You'll Need
First things first, you need to gather the right tools and materials for the job. You'll need:
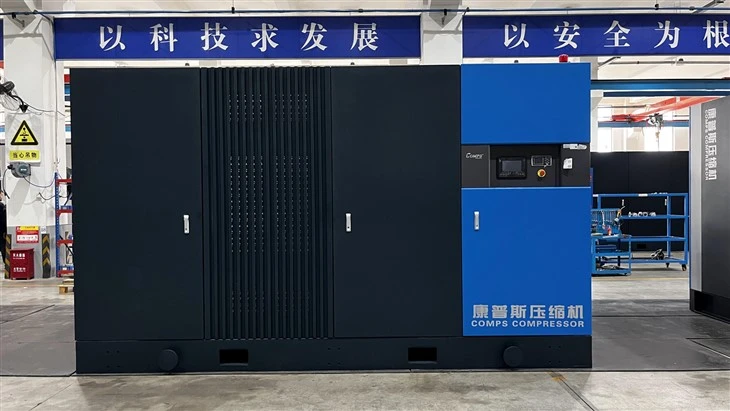
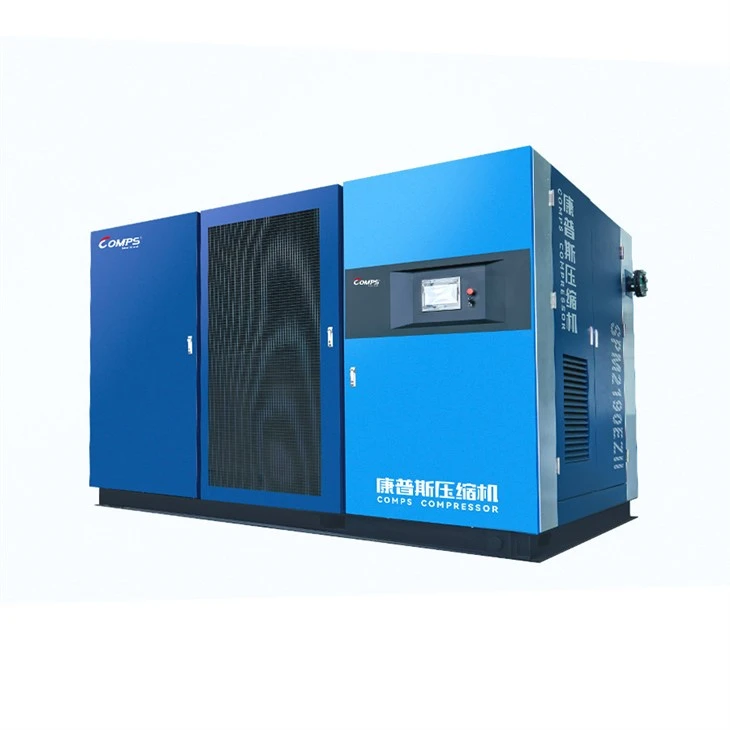
- A set of basic hand tools like screwdrivers (both flat - head and Phillips - head) to open the compressor housing.
- A clean, lint - free cloth or a microfiber towel to wipe down the components.
- Compressed air canister or an air gun (connected to a clean air source) to blow off loose dust and debris.
- A mild degreaser. You can use a commercial degreaser, but make sure it's safe for use on the materials inside the compressor.
- A small brush, like a paintbrush or a toothbrush, for getting into tight spaces.
Step 1: Safety First
Safety should always be your top priority when working on any kind of machinery. Before you start cleaning the interior of your air compressor, make sure it's completely turned off and unplugged from the power source. If it's a gas - powered compressor, turn off the fuel supply. Also, release any built - up pressure in the tank by opening the drain valve. This will prevent any accidental starts or pressure - related injuries.
Step 2: Open the Compressor Housing
Once you've ensured safety, it's time to open up the compressor housing. Use your screwdrivers to remove the screws holding the housing in place. Be careful not to lose any of the screws; you can keep them in a small container. As you remove the housing, take note of how it's attached and any wires or hoses that might be connected to it. This will make it easier to put everything back together later.
Step 3: Remove Loose Debris
With the housing off, you can start removing the loose debris. Use your compressed air canister or air gun to blow off the dust and dirt from the components. Start from the top and work your way down, so that the debris falls down and doesn't get redeposited on the cleaned parts. Pay special attention to the fins of the heat exchanger, if there is one. These fins can easily get clogged with dust, which reduces their cooling efficiency. Also, use the small brush to gently clean the hard - to - reach areas, like the corners and crevices.
Step 4: Degreasing
After removing the loose debris, it's time to tackle the oil and grease buildup. Apply the mild degreaser to a clean cloth or directly onto the components with heavy grease. Use the cloth to wipe down the parts, applying gentle pressure to remove the grease. You may need to let the degreaser sit for a few minutes to break down the stubborn grease. Just make sure to follow the instructions on the degreaser's label. If there are any very dirty areas, you can use the small brush to scrub them gently. But be careful not to damage any of the components.
Step 5: Rinse and Dry
Once you've removed the grease, you may need to rinse the components if the degreaser requires it. Use a clean, damp cloth to wipe off any remaining degreaser. Make sure to get rid of all the degreaser residue, as it could cause problems if it's left behind. After rinsing, use a dry cloth to thoroughly dry all the components. Moisture can cause rust and corrosion, so it's important to make sure everything is completely dry before reassembling the compressor.
Step 6: Reassemble the Compressor
Now that all the components are clean and dry, it's time to put the compressor back together. Start by re - attaching any wires or hoses that you removed earlier. Make sure they are properly connected and secured. Then, place the housing back on the compressor and use the screws to fasten it in place. Tighten the screws evenly, but don't over - tighten them, as this could damage the housing.
Other Air Compressor Options
If you're in the market for different types of air compressors, we also offer a variety of options. Check out our High Pressure Screw Air Compressor, Industrial Stationary Air Compressor, Low - Pressure PM Inverter Air Compressors, Air Compressor for Chemical, and Electric Driven Air Compressor.
Conclusion
Well, there you have it - a step - by - step guide on how to clean the interior of an inverter single stage air compressor. By following these steps regularly, you can keep your compressor running smoothly, improve its efficiency, and extend its lifespan. If you have any questions about cleaning your air compressor or are interested in purchasing one of our high - quality products, don't hesitate to reach out. We're here to help you make the best choice for your needs.
References
- General air compressor maintenance guides from industry associations
- Manufacturer's manuals for inverter single stage air compressors